
My nail art journey
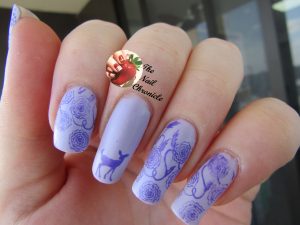
My nail art journey began back in my final year of school, 9 years ago (ahhhh I feel old thinking about that). The end of school ball was approaching and I really wanted to do something with my nails. I knew that having my nails professionally painted would be expensive and I had already spent a lot on my hair and makeup. So, I decided to grow out my nails and create my own design. In the weeks leading up to the ball, I experimented quite a lot with the materials that I had. This included using painters tape (or masking tape) for guidelines to create French tips. I loved experimenting with different designs and this is where my love of nail art began.
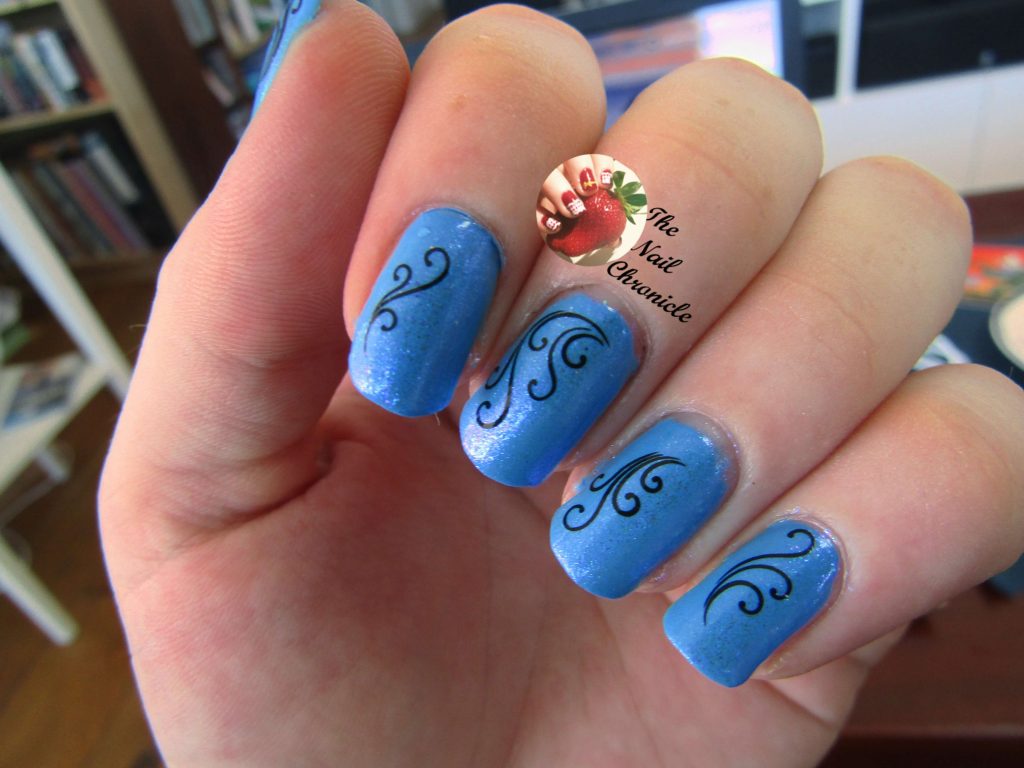
I took a break from nail art for many years as I just didn’t have the time between university and work. However, I took up the hobby again as soon as I could! I began sharing my designs on my private Instagram account and so I decided to create a separate account called The Nail Chronicle where I could share my designs to a wider audience and interact with other nail artists.
As I created more designs, I found that I wanted to share details of my design process and how to guides. This is where Instagram has a bit of a limitation for the amount that I wanted to write. This is how my blog came to life. I wanted to share where my inspiration came from and teach people that they can easily create their own beautiful nails without spending a fortune.
I hope the following tutorial is helpful in your nail art journey! I would love to see your designs. Please share and tag your nail art either on Instagram, Twitter or Facebook (links are all below).
If you have any questions pop a comment below. No question is too silly!!
What you will need:
- Base coat (or any clear polish)
- Top coat (or any clear polish)
- Glitter polish or similar
- Colour polish – any colour and brand of your choice
- Water Decals/stickers
- Nail polish remover
- Cotton buds/makeup remover pads/makeup bush (see the note about clean up techniques)
Products I used:
These are the products I used. For your design you can use any colours, brands or styles. Be creative!
-
- Sally Hansen – Miracle Cure Strengthener (I don’t use nail hardener as much as I used to. However, I cut my nails a little too short and wish to ensure they grow back as strong as possible)
- OPI – Rich Girls and Po-Boys
- Rimmel – Finishing Touch this one is cheap and works well
- ILNP – Abyss
Some tips before you get started:
- Allow enough time for the polish to dry. If you know that you have an activity to complete where your nails may be damaged I highly recommend completing that activity first so you don’t damage your design.
- Don’t worry about buying a specific brand. I have a few favourites but also find polishes from the $2 shop work great! Plus, you are less likely to worry about making mistakes and wasting polish.
- Have fun! Choose designs that you feel comfortable with and will enjoy creating.
Part 1: Apply the base colour
- Apply a clear base coat. This could be any clear polish or a specific base coat. It helps the polish to last longer and can prevent staining particularly for dark pigments such as greens and blues. Tip: you can also use a nail hardener or growth polish as a base coat if you are trying to grow out your nails.
- Apply your chosen colour. I recommend applying thin layers to ensure that each layer fully dries. Also, even if the polish is opaque (you can no longer see the nail), apply a second coat so that your design will last longer. Take your time to apply the colour to avoid mess and don’t worry if you paint half your hand (I still do this occasionally).
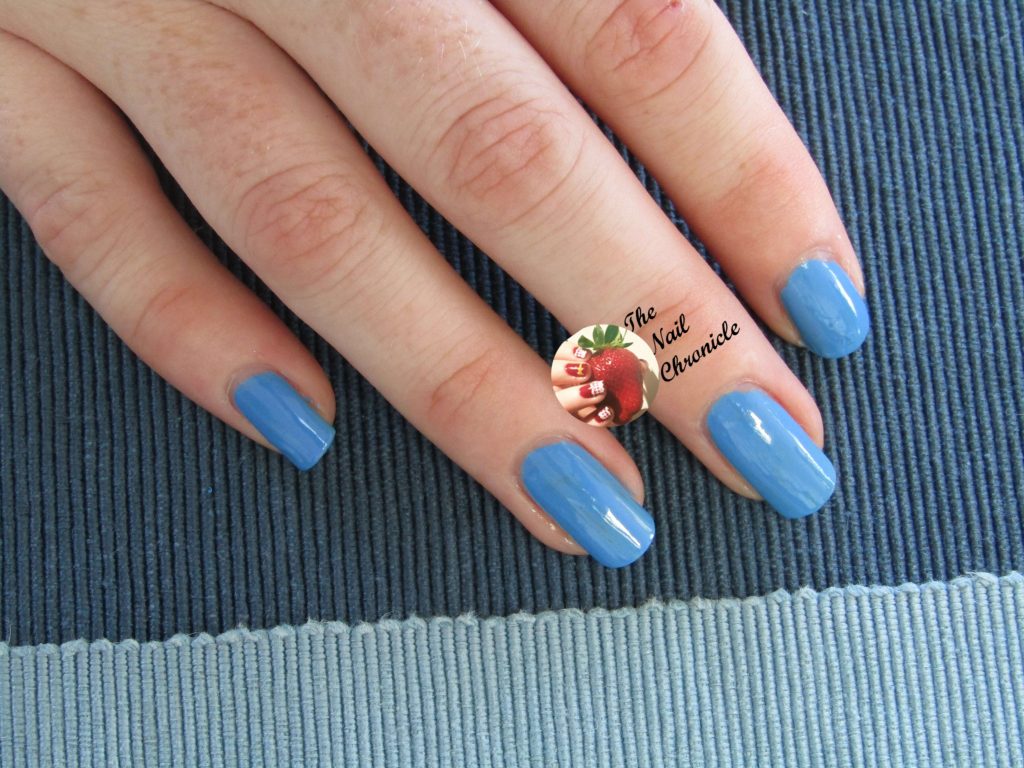
- Clean up any polish that is on your skin. There are many techniques for clean-up. My personal favourite is dipping a cheap makeup brush into nail polish remover so that I can clean very close to the nail without touching the polish on the nail itself. If you don’t have a cheap makeup brush a combination of cotton buds and makeup removers also work well. When I wish to remove my design completely I use make remover pads.
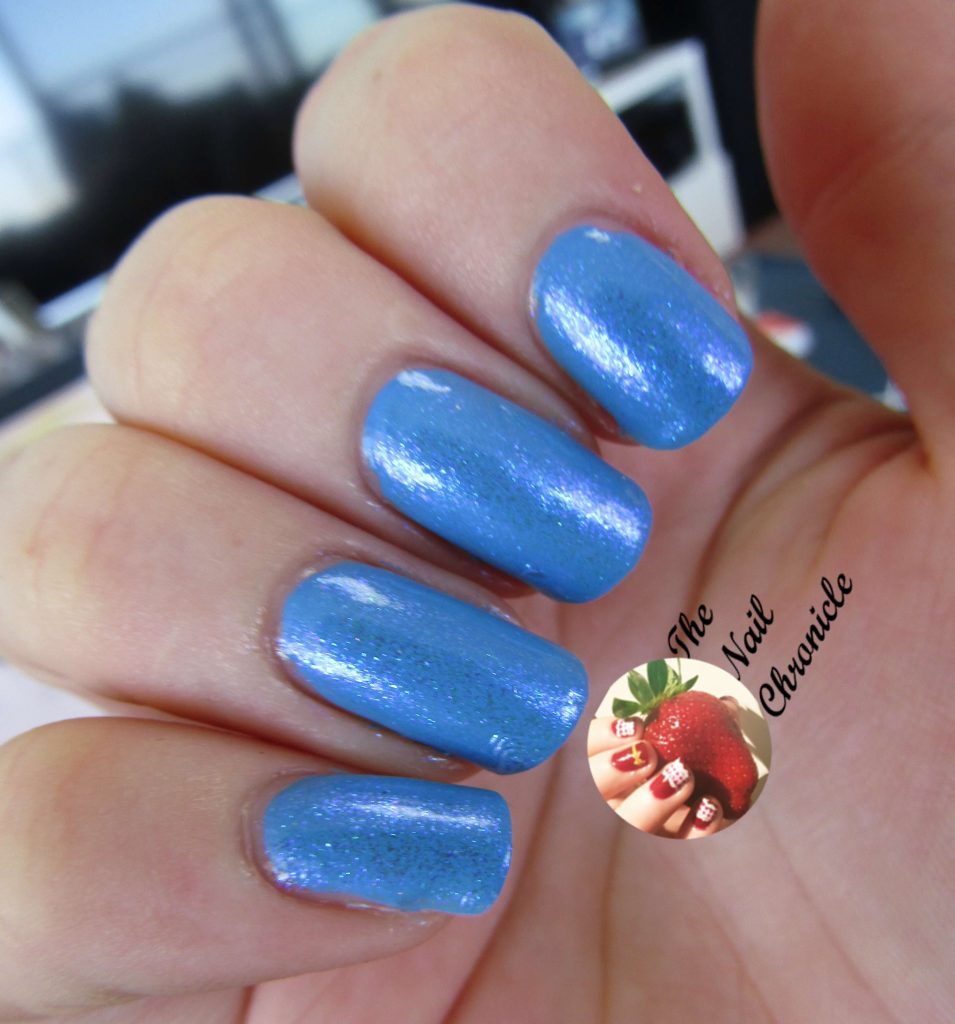
Part 2: Glitter layer (optional)
- Apply your chosen glitter layer over the top of the colour. 2 or 3 coats may be required. Tip: if you’re not sure if the glitter will work with your chosen colour try it on a piece of paper first.
- Allow to dry.
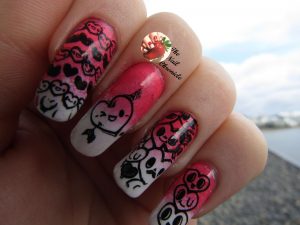
Part 3: Apply Water decals/stickers
Normally, most packets will tell you if you have water decals or stickers. If the instructions say to soak the design in water then you have a water decal. If you’re not sure, try peeling one off. If it peels of easily then it’s a sticker. If not, it’s likely a water decal.
Water Decal application:
- Following the instructions on the packet to apply the decal as they can vary slightly. Generally, while the decal is wet it will slide easily on the nail. It should stay in place when dry. Try not to move it or knock it whilst it’s wet.
- Try to limit soaking no more than 3 decals at a time. They can become hard to handle when very wet as they slide too easily off the paper.
- Once all nails are dry, apply a clear top coat of your choice. I recommend applying at least 2 to 3 top coats. Ensure each layer is dry before applying the next coat.
Nail Sticker application
- Peel off the sticker. Be careful to not chip your newly painted nails. Sometimes tweezers may help but be gentle to not tear the sticker.
- Apply the sticker to your preferred nail.
- Apply a top coat to each nail. I recommended 2 to 3 coats.
Tips for your design to last longer.
- Avoid using your nails to open items such as cans or key-rings. For cans, use a spoon to lift the lid.
- The first 24 hours is when your nails will be most vulnerable try to avoid activities that will damage them.
- Wear gloves when cleaning, especially when doing the dishes.
- If you have long nails don’t use them to press buttons. Rather use your knuckle instead.
Social Media Links:
You can find me on most social media platforms. I am most active on Instagram.
Blog // Bloglovin // Twitter // Instagram // Facebook // YouTube
These nails look divine and I love all the helpful tips included throughout the post. Also it is refreshing to read a nail tutorial that doesn’t tell you that you have to buy a bunch of expensive nail varnishes to achieve the look. Thank you Laura for writing this beautiful nail art tutorial for Hobbyism. – Sarah (editor of Hobbyism)
Share your hobby to be featured on the website.