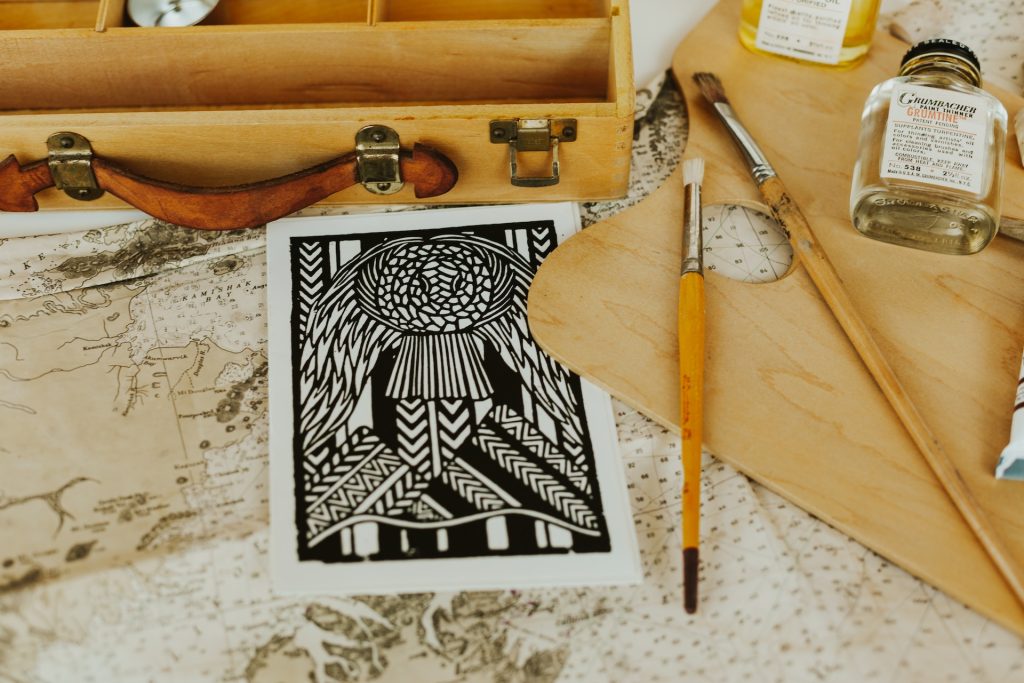
Lino printing is a fun hobby to do at home. You only need a few materials to start and you don’t need any prior experience. After the design has been carved it can be used for countless prints.
What is Lino Printing?
Lino printing is a form of block printing. You carve designs onto the lino, vinyl or rubber and transfer the print onto paper with ink. It is used to create posters, artwork and design clothing.
When Did Lino Printing originate?
Lino printing, also known as linocut, has a fascinating history that traces back to the early 20th century. The technique was first developed by the German artist Franz Gertsch in 1905, although it didn’t gain popularity until the 1920s.
Gertsch experimented with linoleum as a medium for printmaking, and realised it was a cheaper alternative to woodcuts. Over the years, lino printing found its place in the world of art, captivating artists with its versatility and ease of use. (Source: “Linocut: The Complete Guide to the Art of Linocut” by Nick Morley, page 9)
Famous Lino Prints
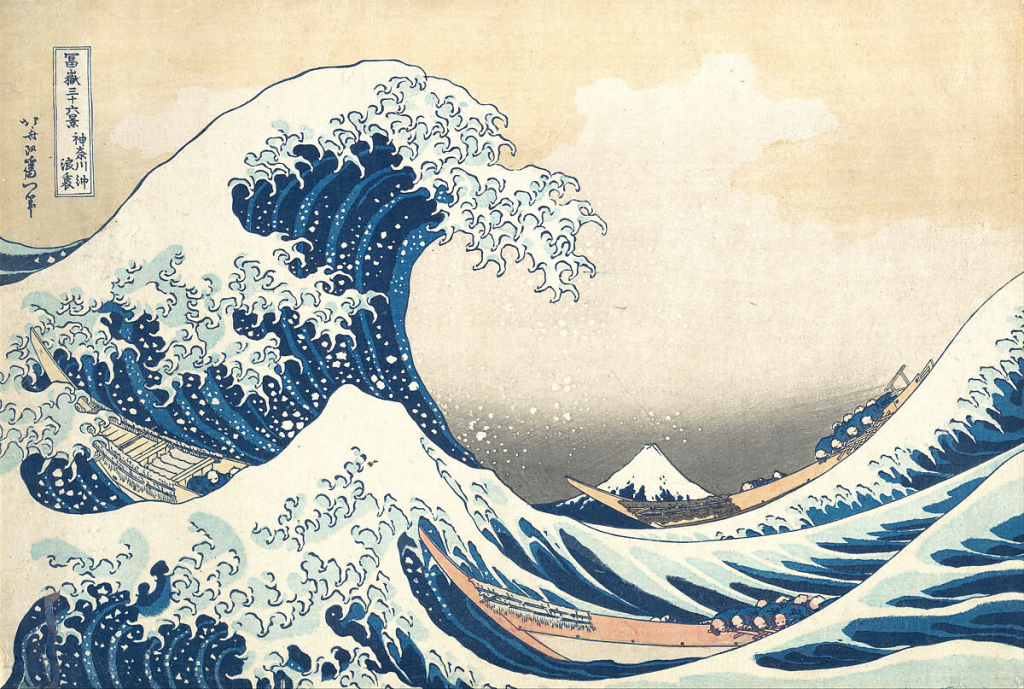
The Great Wave by Katsushika Hokusai is one of my favourite prints. I have a print of this in my home.
The woodblock printing methods produced stunning artwork by merging ink and colour on paper. Source: Met Museum
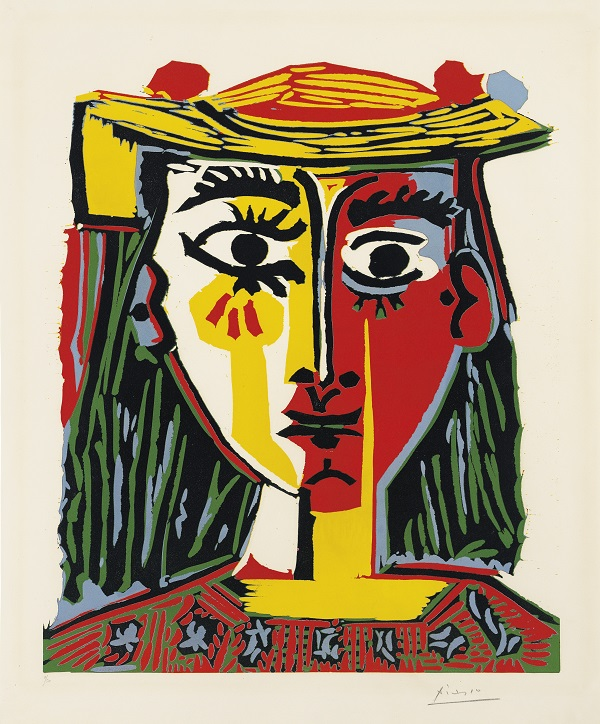
Another favourite is Woman in a Hat with Pompoms and a Printed Blouse by Pablo Picasso. Source: Met museum.
Linocut was a short-lived medium for Picasso due to its tedious nature.
Picasso’s style is still recognisable in lino print form.
What do you need to do lino printing?
Here’s everything you need to start lino printing:
- Linoleum block: Choose a smooth piece of linoleum for carving.
- Carving tools: Essential for creating your design on the linoleum block.
- Brayer: A roller for applying ink evenly on the linoleum surface.
- Printing liquid ink: Use water-based ink for easier cleanup.
- Printing ink pad: Used instead of the brayer and ink.
- Printing paper: Opt for high-quality, acid-free paper for the best results.
- Printing press or spoon: A press will give consistent results, but a spoon works fine too.
- Tracing paper (optional): to transfer your design onto the lino.

This Lino Printing Kit contains everything you need and includes:
- 6 x lino cutters styles
- lino cutter handle
- aluminium ferrule
- 2 x linoleum blocks
- 2 x soft-cut blocks
- practice piece of paper
- ink roller (brayer)
- ink tray
- safety hand guard
- baren cap
- baren base
- tube of water-based block printing ink (100ml)
- 2 x soft-cut printing stamps & an instruction manual
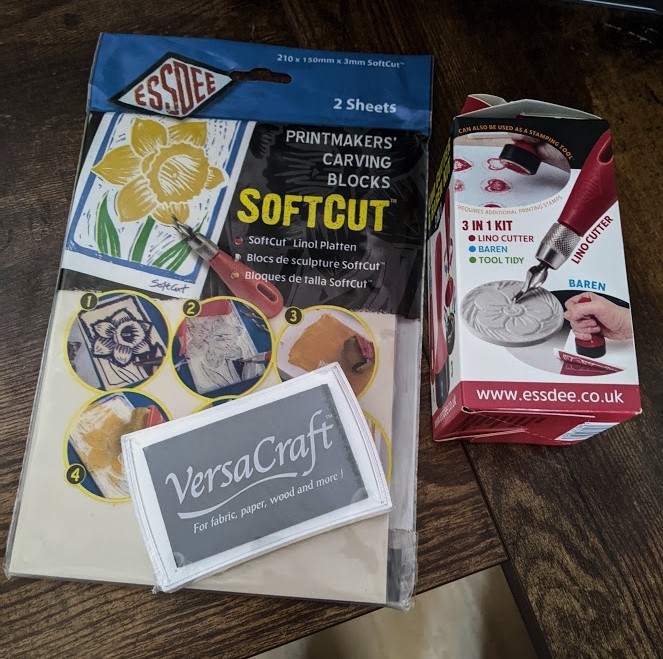
The kit includes everything you need but there is a cheaper alternative.
I bought these three items instead:
- VersaCraft ink pad – no brayer or ink tray needed
- 3 in 1 kit – lino cutter (includes baren)
- Soft cut lino – easy to carve
I found the ink pad better than liquid ink because it’s less messy and has zero fuss.
How to Do Lino Printing Step by Step:
- Look for design inspiration: my favourite website is Pinterest (check out my board for ideas).
- Sketch your design on paper: keep it basic with simple lines.
- Draw your image (in reverse) on the lino with a biro pen.
- Use your lino cutter to carve around your design: remove any negative space.
- Add your ink evenly to the carved-out lino block.
- Place your inked lino block face down on some scrap paper.
- Use a baren to press the block down and peel off after 30 seconds.
- Do a couple of test prints on scrap paper.
- Reapply the ink and print onto your chosen canvas.
See below for video tutorial.
Lino Cutting tutorial video
This video is my favourite tutorial. It’s straight to the point and easy to recreate:
Tips
- Research different inks and ink pads to ensure you use the right one for your canvas – water-based is easy to clean.
- Additionally, if you don’t have a press, you can use a spoon instead.
- Use tracing paper or a projector to transfer your design onto Lino.
- Opt for high-quality, acid-free paper for the best results.
- Carve your design carefully as mistakes are permanent.
- Be careful when using carving tools.
- Pick easy to carve Lino.
Is Lino Printing Easy?
Yes, lino printing is relatively easy and beginner-friendly. The process is straightforward and enjoyable. Above all, it’s a fantastic art form for beginners and experienced artists.
Conclusion

I hope you enjoyed lino printing as much as I did. Let me know in the comments if you’ve tried lino printing before.
Have a look at my post for hobbies to do at home.