Hi friends, I’m Beka!
I’m a lifestyle blogger – I write posts on beauty bits that I love, places I want to travel / have travelled to, university-related posts, recipes; basically, everything I love or that is a part of my life.
One of my hobbies is bullet journaling. I love putting some time aside at the end of the week, or the month and sitting down with a big mug of tea and planning out my schedule for the week ahead.
Now, this might seem a little tedious to you – who actually likes organising their calendar? But bullet journaling adds a whole new layer of personalisation and creativity, and I find that when you have something more beautiful and personalised to motivate you, things get done a lot quicker.
Today, I’m going to talk you through how I design mine to help better organise my life.
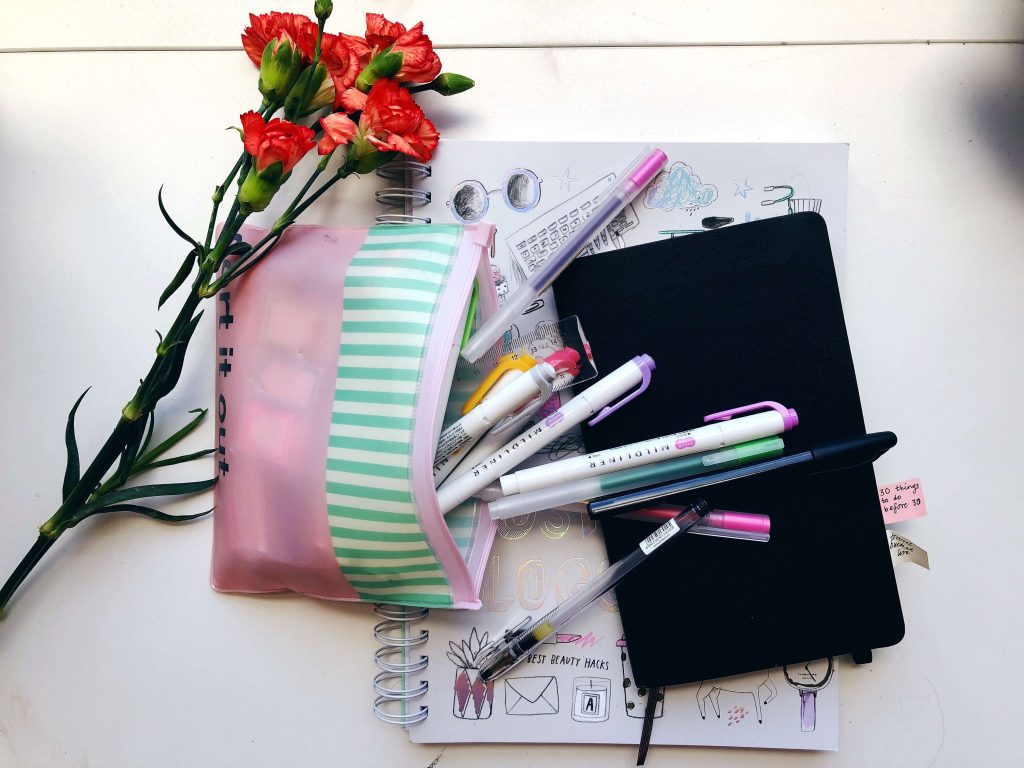
What you will need:
- A notebook or journal // I use a small, squared Moleskine journal.
- Pens // black, blue, multi-coloured pens – whatever your heart desires!
- (optional) highlighters // I use Mildliner highlighters here, and I love (and highly recommend) them for bullet journaling.
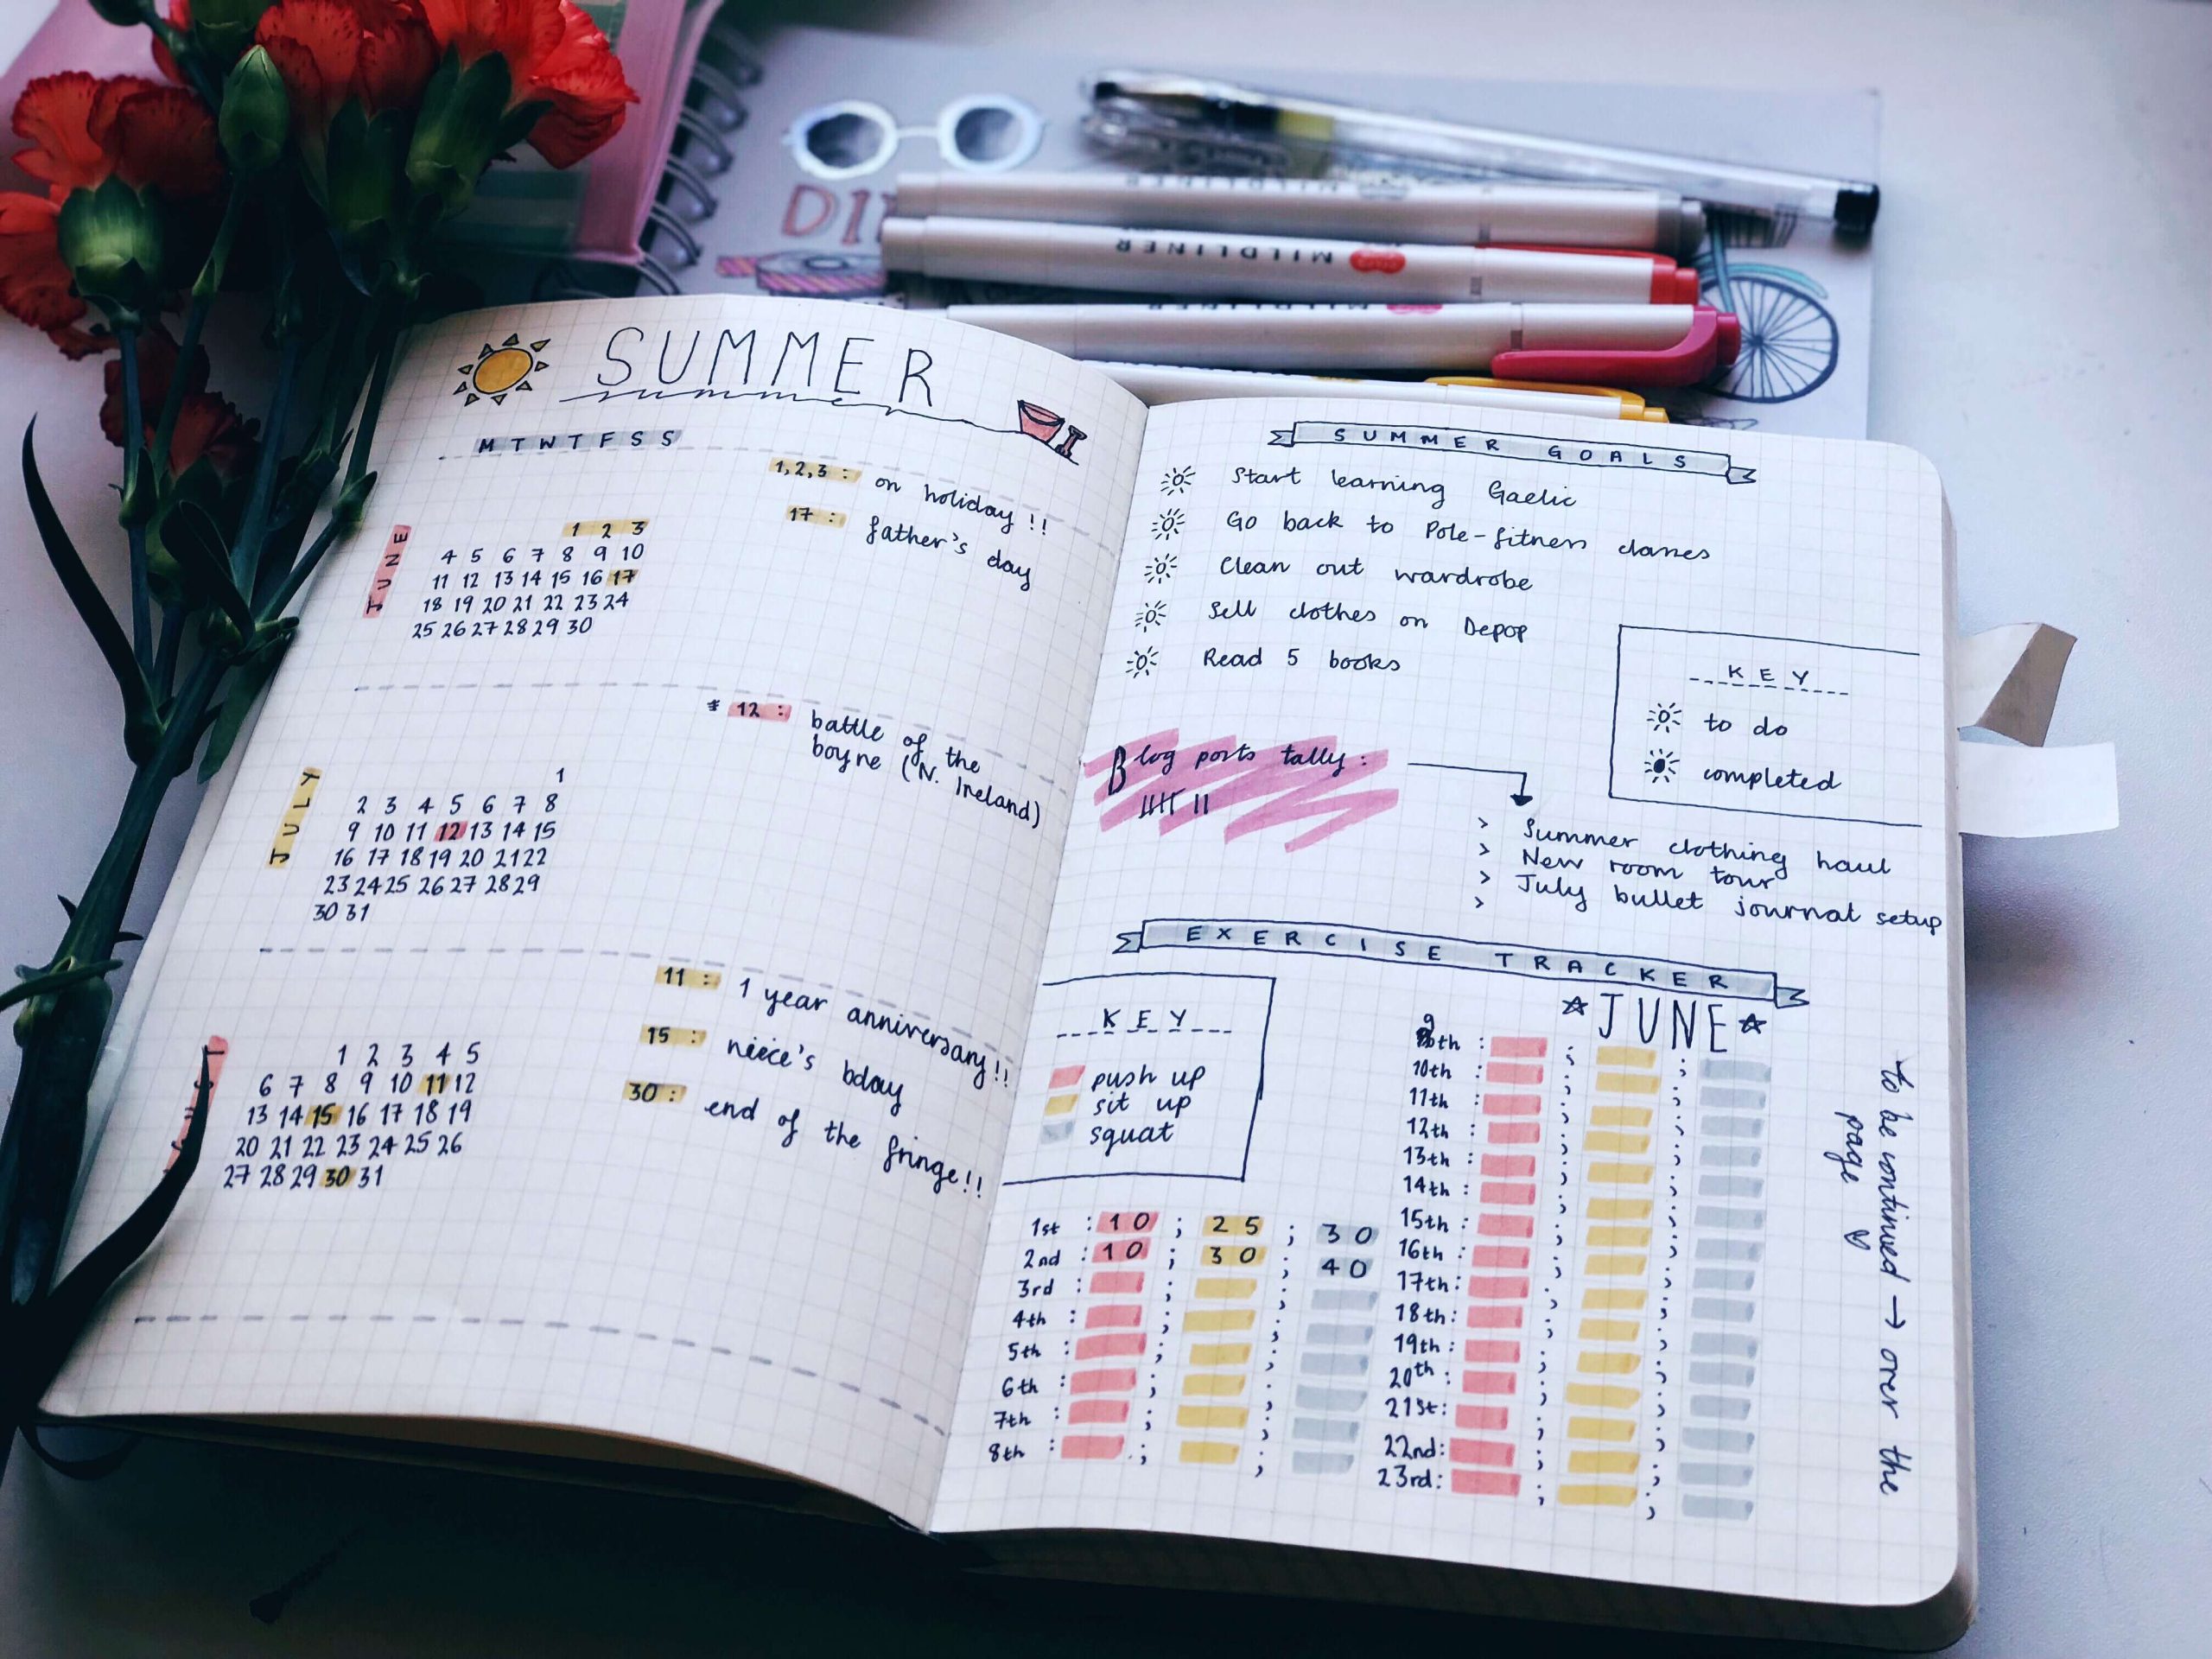
There are so many ways to design a bullet journal – there is no wrong way either, it is all personal to you. Some people design whole monthly spreads at the start of the month, some people do it week by week. It’s all up to preference! Here, I am going to design a “summer” themed spread.
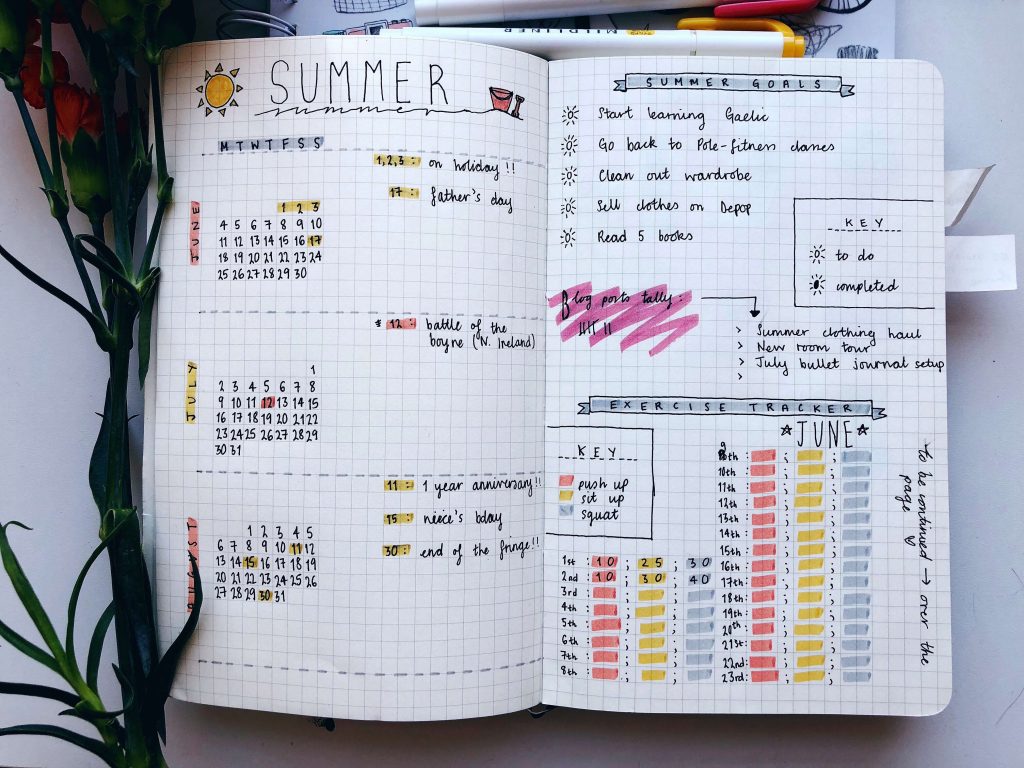
I’ve kept mine fairly simple and clean, as this is how I like to style my spreads. I like to pop in a couple of drawings around the title as well as I feel without them, the title seems a bit bare – but this is all down to preference. Some people draw a lot in their bullet journal, and some people not at all.
Next I created a little calendar for each of the summer months, keeping them small so they can fit on the same page. Some people use the whole two pages for one calendar month, it all depends on how you want to style your calendar. I used a highlighter to highlight the days that I am busy / have an event on, and I wrote the days and the event in the spaces at the side of the calendars. I like this method as it is easier to see your schedule for the entire summer, rather than just week by week – but I do like to change things up with every spread, and try different styles.
On the other page I created a “Summer Goals” list, and started filling in a few things that I’d like to get through this summer. I created a key of open and filled in suns to mark off when I have achieved my goal.
I also created an exercise tracker – I feel these are really helpful in motivating you to get that little bit of exercise done every day, as it feels so satisfying to to fill in all the little squares (and irritating if you miss a day and ruin the streak!). I marked the different types of exercises with a different highlighter to add some colour to the page.
I popped in a little blog posts tracker as well to fill in the gap, and started to fill in this and the exercise tracker just to give you an idea of how I would use it.
I love creating headings in a banner like above! It’s very simple – all you do is draw a box around your work and then two little two-pronged flags either side but starting half way down the box, and have it overflowing a tiny bit at the end.

I hope you enjoyed seeing how I design my bullet journal, and I hope it inspires you to create your own, too! For more inspiration, there are loads of videos on YouTube you can have a look at, some are simple like mine and others are very artistic, and I also post my monthly spreads on my blog as well!
If you have any questions you can catch me over at my blog or Twitter, all links are at the start of the post. And a huge thank you to Hobbyism for having me!
You can catch me over at my blog or on my social media accounts:
Blog // Twitter // Instagram
~ Beka
I absolutely loved Beka’s post on Bullet Journaling and I couldn’t wait to publish it on the website. This is the perfect project to help with organisation; something I definitely need. Thanks Beka for such a great post. – Sarah (editor of Hobbyism)
Share your hobby to be featured on the website.